
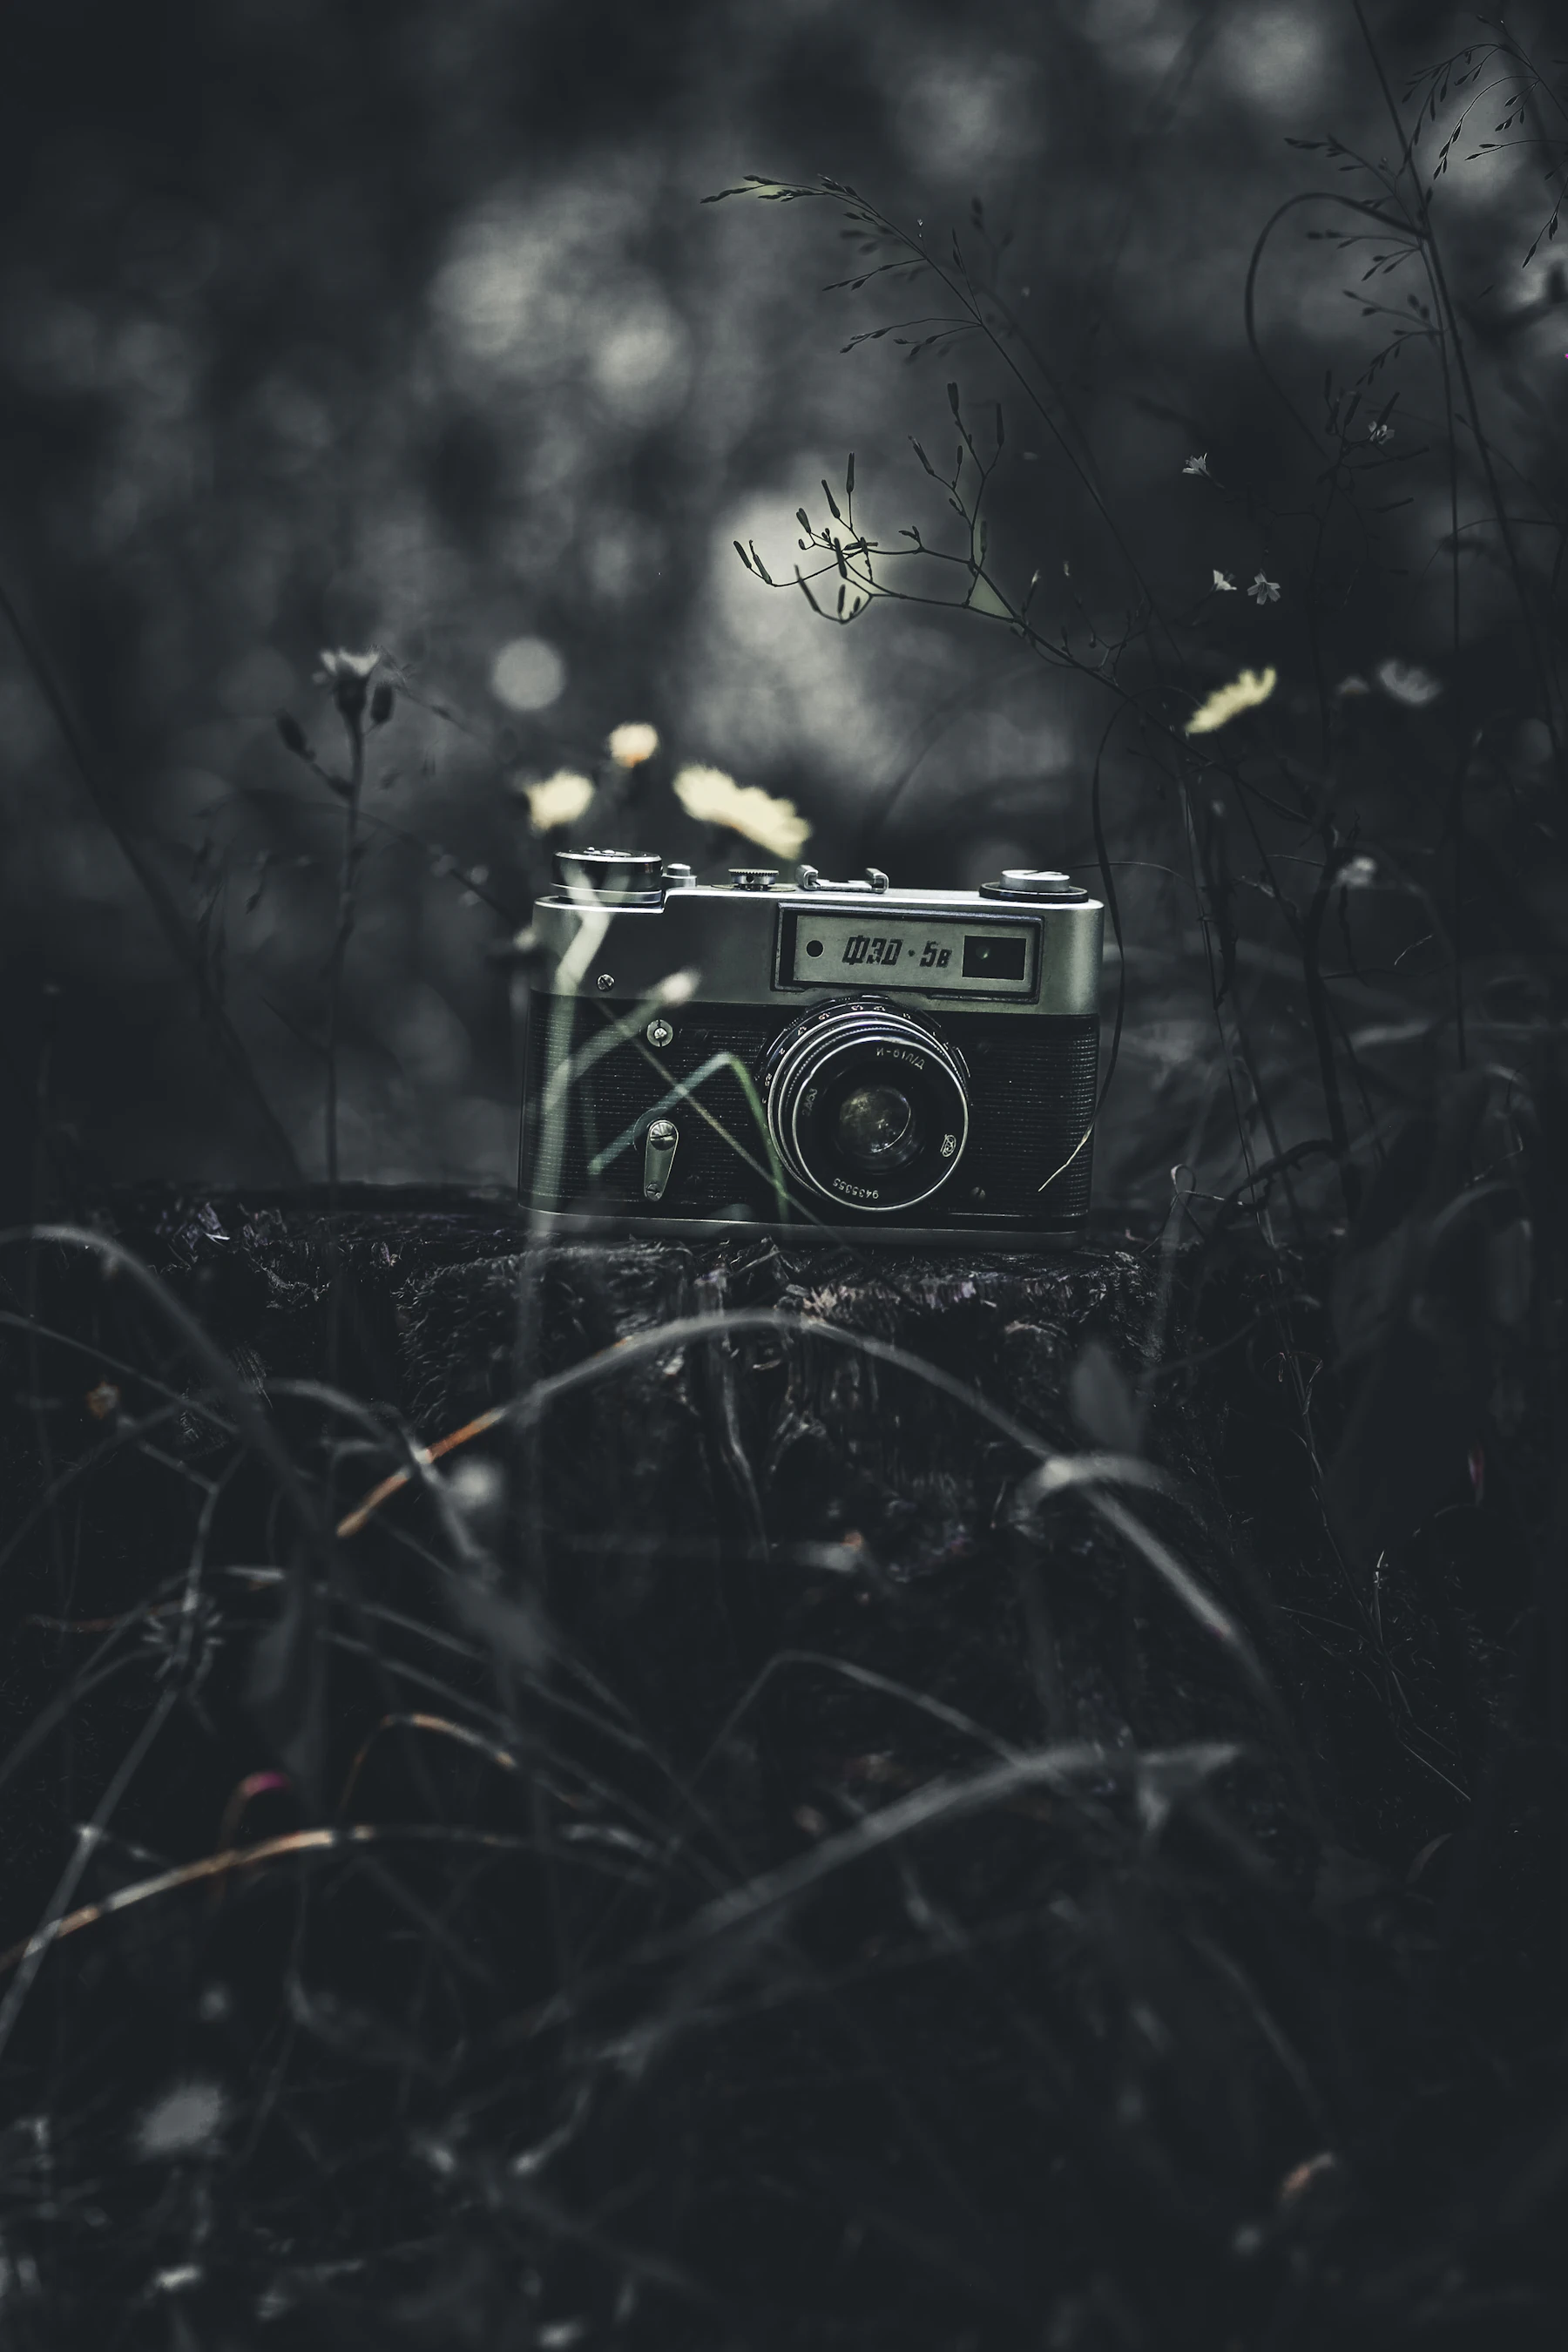
Short answer: a successful photo shoot is decided before the first shot. Knowing what the photos are for, preparing the spaces and having a clear list of the images you need turns a few hours’ work into an archive you will use for years.
In this guide5
1. Be clear about how the images will be used
Website, social media, catalogue, print, listing platforms? Each one has different needs: landscape images for website banners, portrait for Instagram, high resolution for print. Saying so in advance lets the photographer shoot every version you need in the same session.
2. Prepare a shot list
| Category | Examples |
|---|---|
| People | Portrait of the owner, team photo, people at work |
| Spaces | Entrance, main rooms, exteriors |
| Work | Stages, tools, typical gestures of the trade |
| Products or results | What you sell or make, in detail |
3. Prepare the spaces
- Tidy up and clear surfaces: what looks normal in real life becomes clutter in a photo.
- Clean glass and windows: when working in natural light, they make all the difference.
- Remove temporary signs, cables and personal items that are not needed.
4. Prepare the people
- Give notice to whoever will be photographed, and get their consent for the use of the images.
- Clothing: plain colours that suit the image of the business, no logos of other brands.
- A change of clothes to have two versions, one more formal and one more relaxed.
5. Choose the right time
In natural light the time of day matters: interiors look best when the light comes in softly, exteriors in the morning or late afternoon. A quiet day is best, with no customers waiting and no deliveries under way.
Before every shoot we agree with the client on use, shot list and timing: on the day of the session we work calmly, and post-production, which is included, delivers files ready for every use.